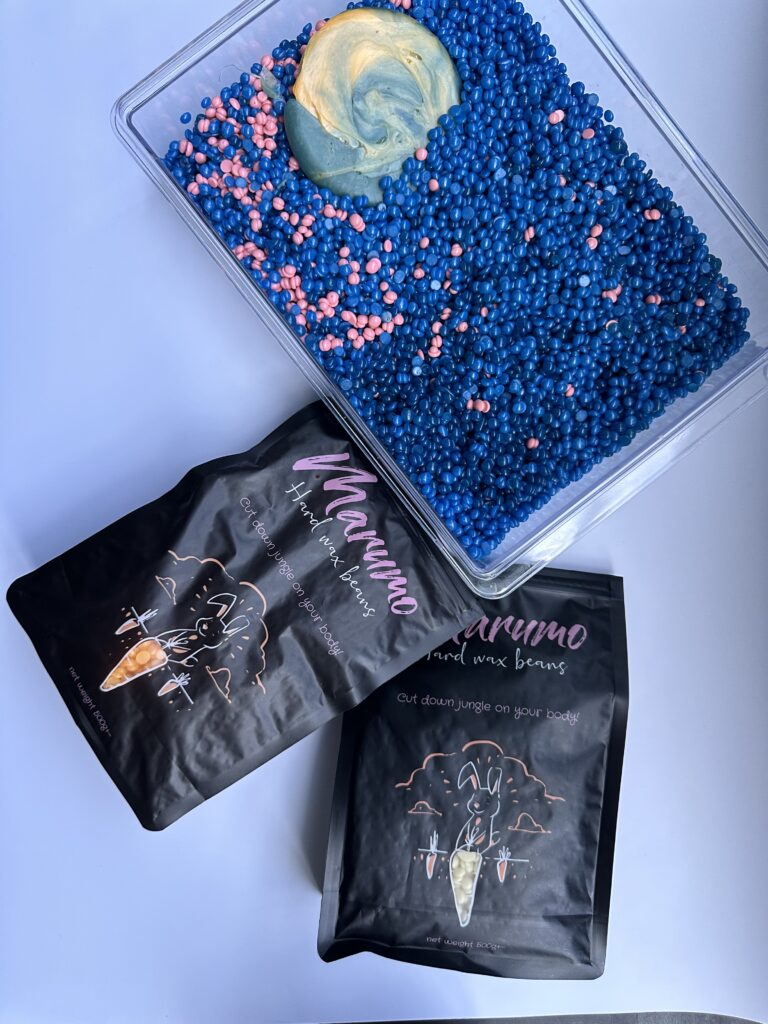
Marumo Hard Wax Beans
Introduction to Hard Wax Beans


- Hard Wax Beans: Choose a high-quality product based on the area to be waxed and skin type.
- Wax Warmer: A device for heating the wax beans to the appropriate temperature.
- Spatula or Applicator Stick: For spreading the wax onto the skin.
- Talcum Powder: To help absorb excess moisture and improve wax adherence to the hair.
- Post-Waxing Lotion: For soothing and calming the skin after the procedure.
- Wax Strips (optional for hybrid techniques).
- Gloves (optional but recommended for hygiene).
- Exfoliate the Skin: Gently exfoliate the area to remove dead skin cells. This helps prevent ingrown hairs and ensures better wax adhesion.
- Cleanse the Skin: Use a gentle cleanser to remove dirt, oil, or lotions that may interfere with the wax. Allow the skin to dry completely.
- Apply Talcum Powder: Lightly dust the area with talcum powder to absorb excess moisture and provide a smooth surface for the wax.


Frequently Asked Questions
Find answers to commonly asked questions about our products and services.
Melting and Using Hard Wax Beans
Step 1: Melting the Wax
- Heating in a Wax Warmer:
- Place the hard wax beans into the wax warmer.
- Heat the wax to around 125-140°F (52-60°C). The wax should be thick enough to apply but still pliable. Test the wax temperature by applying a small amount to the back of your wrist.
- Stir the wax occasionally to ensure even heating.
Step 2: Applying the Wax
- Using the Spatula
- Once the wax has melted to the proper consistency, use a spatula to scoop up a small amount.
- Apply the wax in the direction of hair growth in a thin, even layer. For larger areas (legs or back), spread the wax in sections. For smaller or more sensitive areas (bikini line or face), apply smaller sections at a time.
- Ensure the wax is applied thick enough to encapsulate the hair but not too thick to cause uneven removal.
Step 3: Removing the Wax
- Let the Wax Cool and Hardens:
- Allow the wax to cool and harden for 30-60 seconds. It should feel firm to the touch and slightly pliable, like a soft plastic.
- Once it has cooled enough, hold the skin taut with one hand.
- Use the other hand to grab the edge of the hardened wax and pull it off quickly in the opposite direction of hair growth.
- Use a quick, confident motion to minimize discomfort.
Post-Waxing Care
Step 1: Soothe the Skin
- Apply a soothing post-wax lotion or gel that contains ingredients like aloe vera, tea tree oil, or lavender to calm the skin and reduce redness or irritation.
Step 2: Avoid Irritants
- For 24-48 hours after waxing, avoid:
- Direct sun exposure.
- Hot showers, saunas, or swimming pools.
- Tight clothing that may cause friction.
- Fragrance-based or alcohol-based skincare products.
Step 3: Prevent Ingrown Hairs
- Exfoliate gently after 48 hours using a mild exfoliator to keep the skin smooth and reduce the risk of ingrown hairs.
- Moisturize regularly to keep the skin hydrated and supple.
Advanced Tips for Hard Wax Bean Use
- Double Dipping: If you’re using a spatula more than once, make sure to only dip the clean side into the wax to avoid contamination.
- Layering: You can use a second layer of wax for larger areas or to tackle stubborn hair.
- Numbing Creams: If you find waxing particularly painful, use a numbing cream (after consulting with a dermatologist).
